
Mary’s Gluten Free/Dairy Free Apple Pie
INGREDIENTS
Crust
6T ice water
3T dairy free sour cream*
1T rice wine vinegar
13 oz GF flour mix*
1 T sugar
1 tsp salt
1/2 tsp xanthan gum
16T dairy free butter*, cut into 1/4” pieces, frozen for 10-15 mins
Eggwash (1 egg mixed with 1T water to brush on crust before baking)
Filling
1 cup sugar
1/2 tsp salt
1/2 tsp nutmeg
1 tsp cinnamon
1 1/2 T GF flour mix
8 large apples*, peeled/cored, sliced into 1/4” x 1.5” sized pieces
2 T dairy free butter, cut into 1/4” pieces
EQUIPMENT
1. Standing mixer
2. 9” deep pie pan (I like ceramic)
3. Rolling pin
Optional, but helps reduce sticking when working with dough:
- cotton rolling pin sock
- rolling silicone mat
PREP
1. Move oven rack to bottom third of oven
2. Preheat oven to 425 degrees
3. Cut up the 16T of butter, cut into 1/4” pieces for the crust and pop into the freezer (needs 10-15 mins in the freezer before using)
4. While the crust is in the refrigerator, peel and chop your apples.
INSTRUCTIONS
Crust:
Definitely start here! You can make this up to 2 days in advance.
This recipe is for a double crust — enough for the bottom and top crusts.
1. Combine the ice water, sour cream, and vinegar in a bowl. Set aside.
2. Blend the flour, sugar, salt, xanthan gum in a food processor for about 5 seconds.
3. Scatter the chilled butter from the freezer over the top of the flour mix and pulse until the crumbs look uniform (about 20-30 pulses)
4. Pour 1/2 of the sour cream mixture over the flour mixture and pulse to incorporate - about 3 pulses. Add remaining sour cream mixture and pulse until dough comes together in large pieces (about 20 pulses).
5. Divide dough into 2 pieces. I like shaping them into thick round discs. Cover with wax or parchment paper, or even plastic wrap. Refrigerate for at least an hour, or up to 2 days. If you refrigerate for more than an hour, let it sit on the counter for 15-20 mins before rolling out.
6. Roll out time! Dust your clean workspace, or your silicone mat, with flour. Also lightly flour your rolling pin, or rolling pin sock. Start with one of the dough halves and start rolling! Roll out evenly around 11” in diameter. Once you’re done, take a long spatula and gently loosen beneath the dough so you can easily transport it to your pie plate. Then trim any overhanging edges with a small paring knife, so it looks like this:
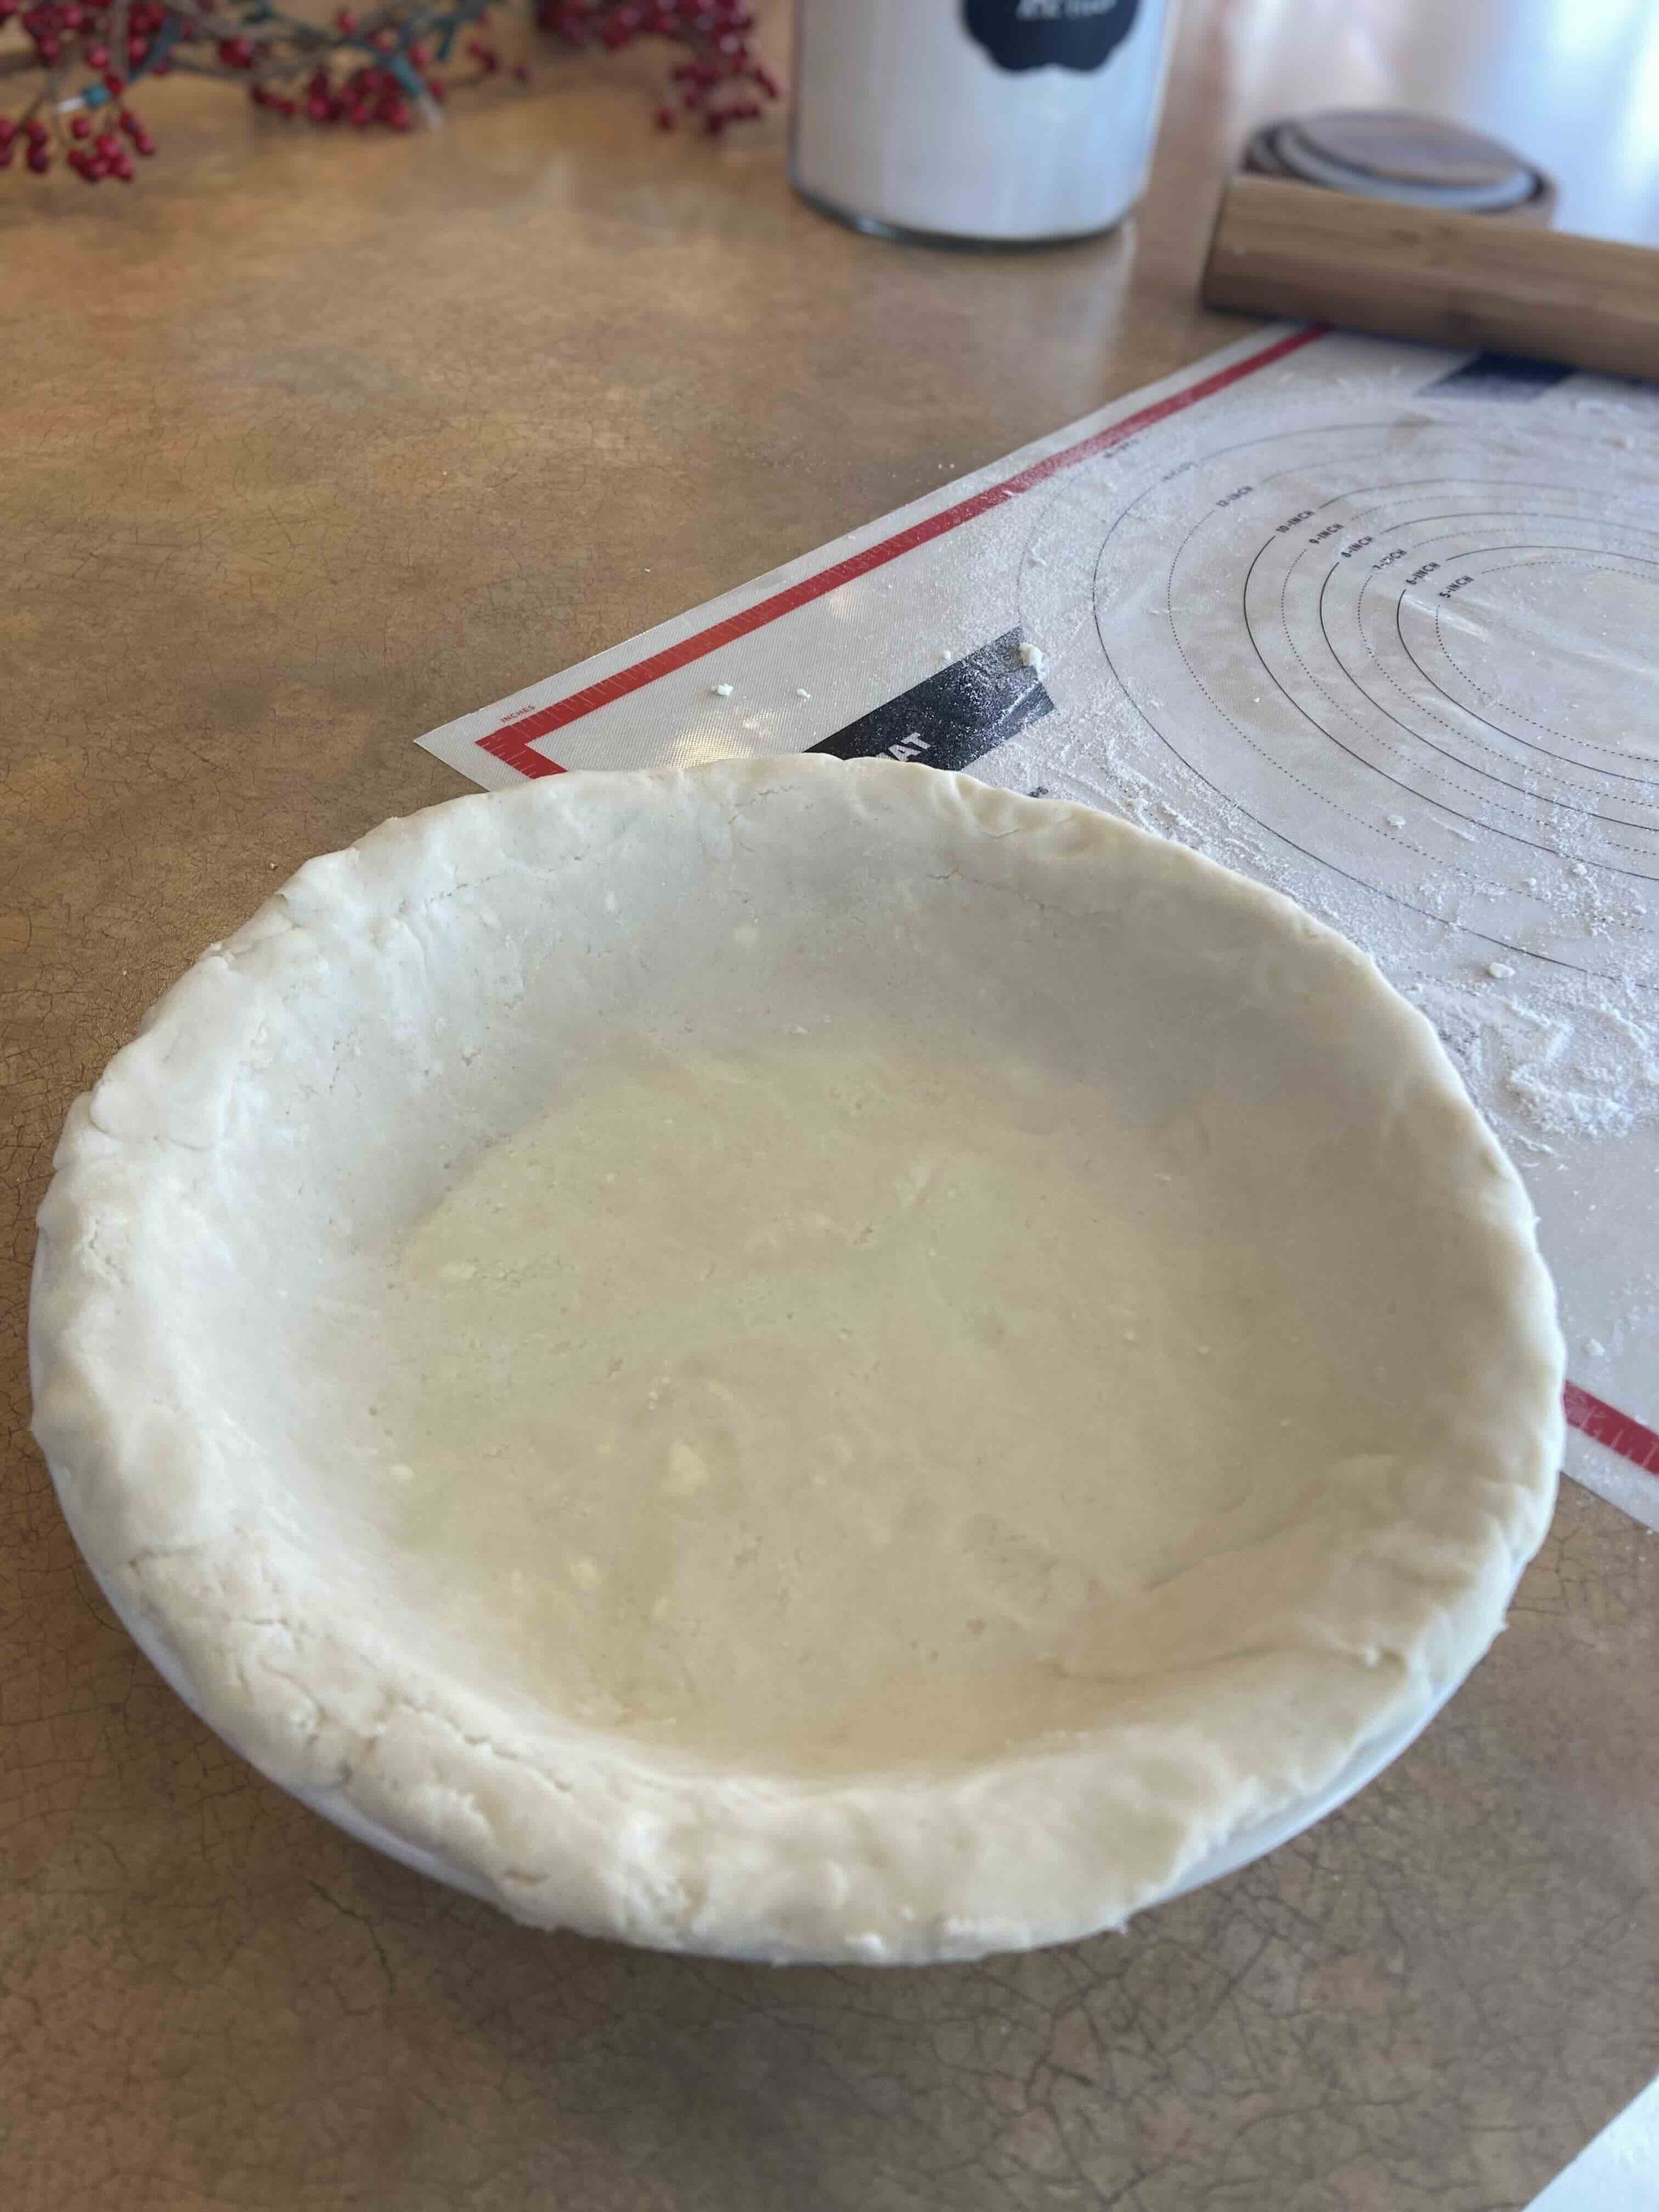
Don’t worry if you have splitting or some pieces break off — just press them back together.
7. Now work on the top crust. Again, dust your work space and rolling pin, and grab the second half of your crust, ADDING any trimmings from your bottom crust if you had any. Roll out your crust - make sure it’s 11-12” in diameter. Leave it where it is, and now onto the filling.
Filling:
1. Combine the sugar, salt, nutmeg, cinnamon and flour into a bowl.
2. Place your prepared apples in a large bowl and add the sugar mixture. Toss well so it’s all evenly coated. I like using a rubber spatula to get all that yummy goodness on the bottom of the bowl incorporated into the apples.
3. Cut up your 2 tablespoons of butter and place in small bowl.
4. Prepare your egg wash (beat one whole egg with 1T water) in a small bowl and grab a small brush. You will brush this on top of your finished crust before popping your pie in the oven to help the browning.
Finish:
1. Place your coated apples into the pie, mounding them up. There will be a BIG mound - it’s ok, it will reduce when baking.
2. Sprinkle your 2 tablespoons of butter on top of the mounded apples.
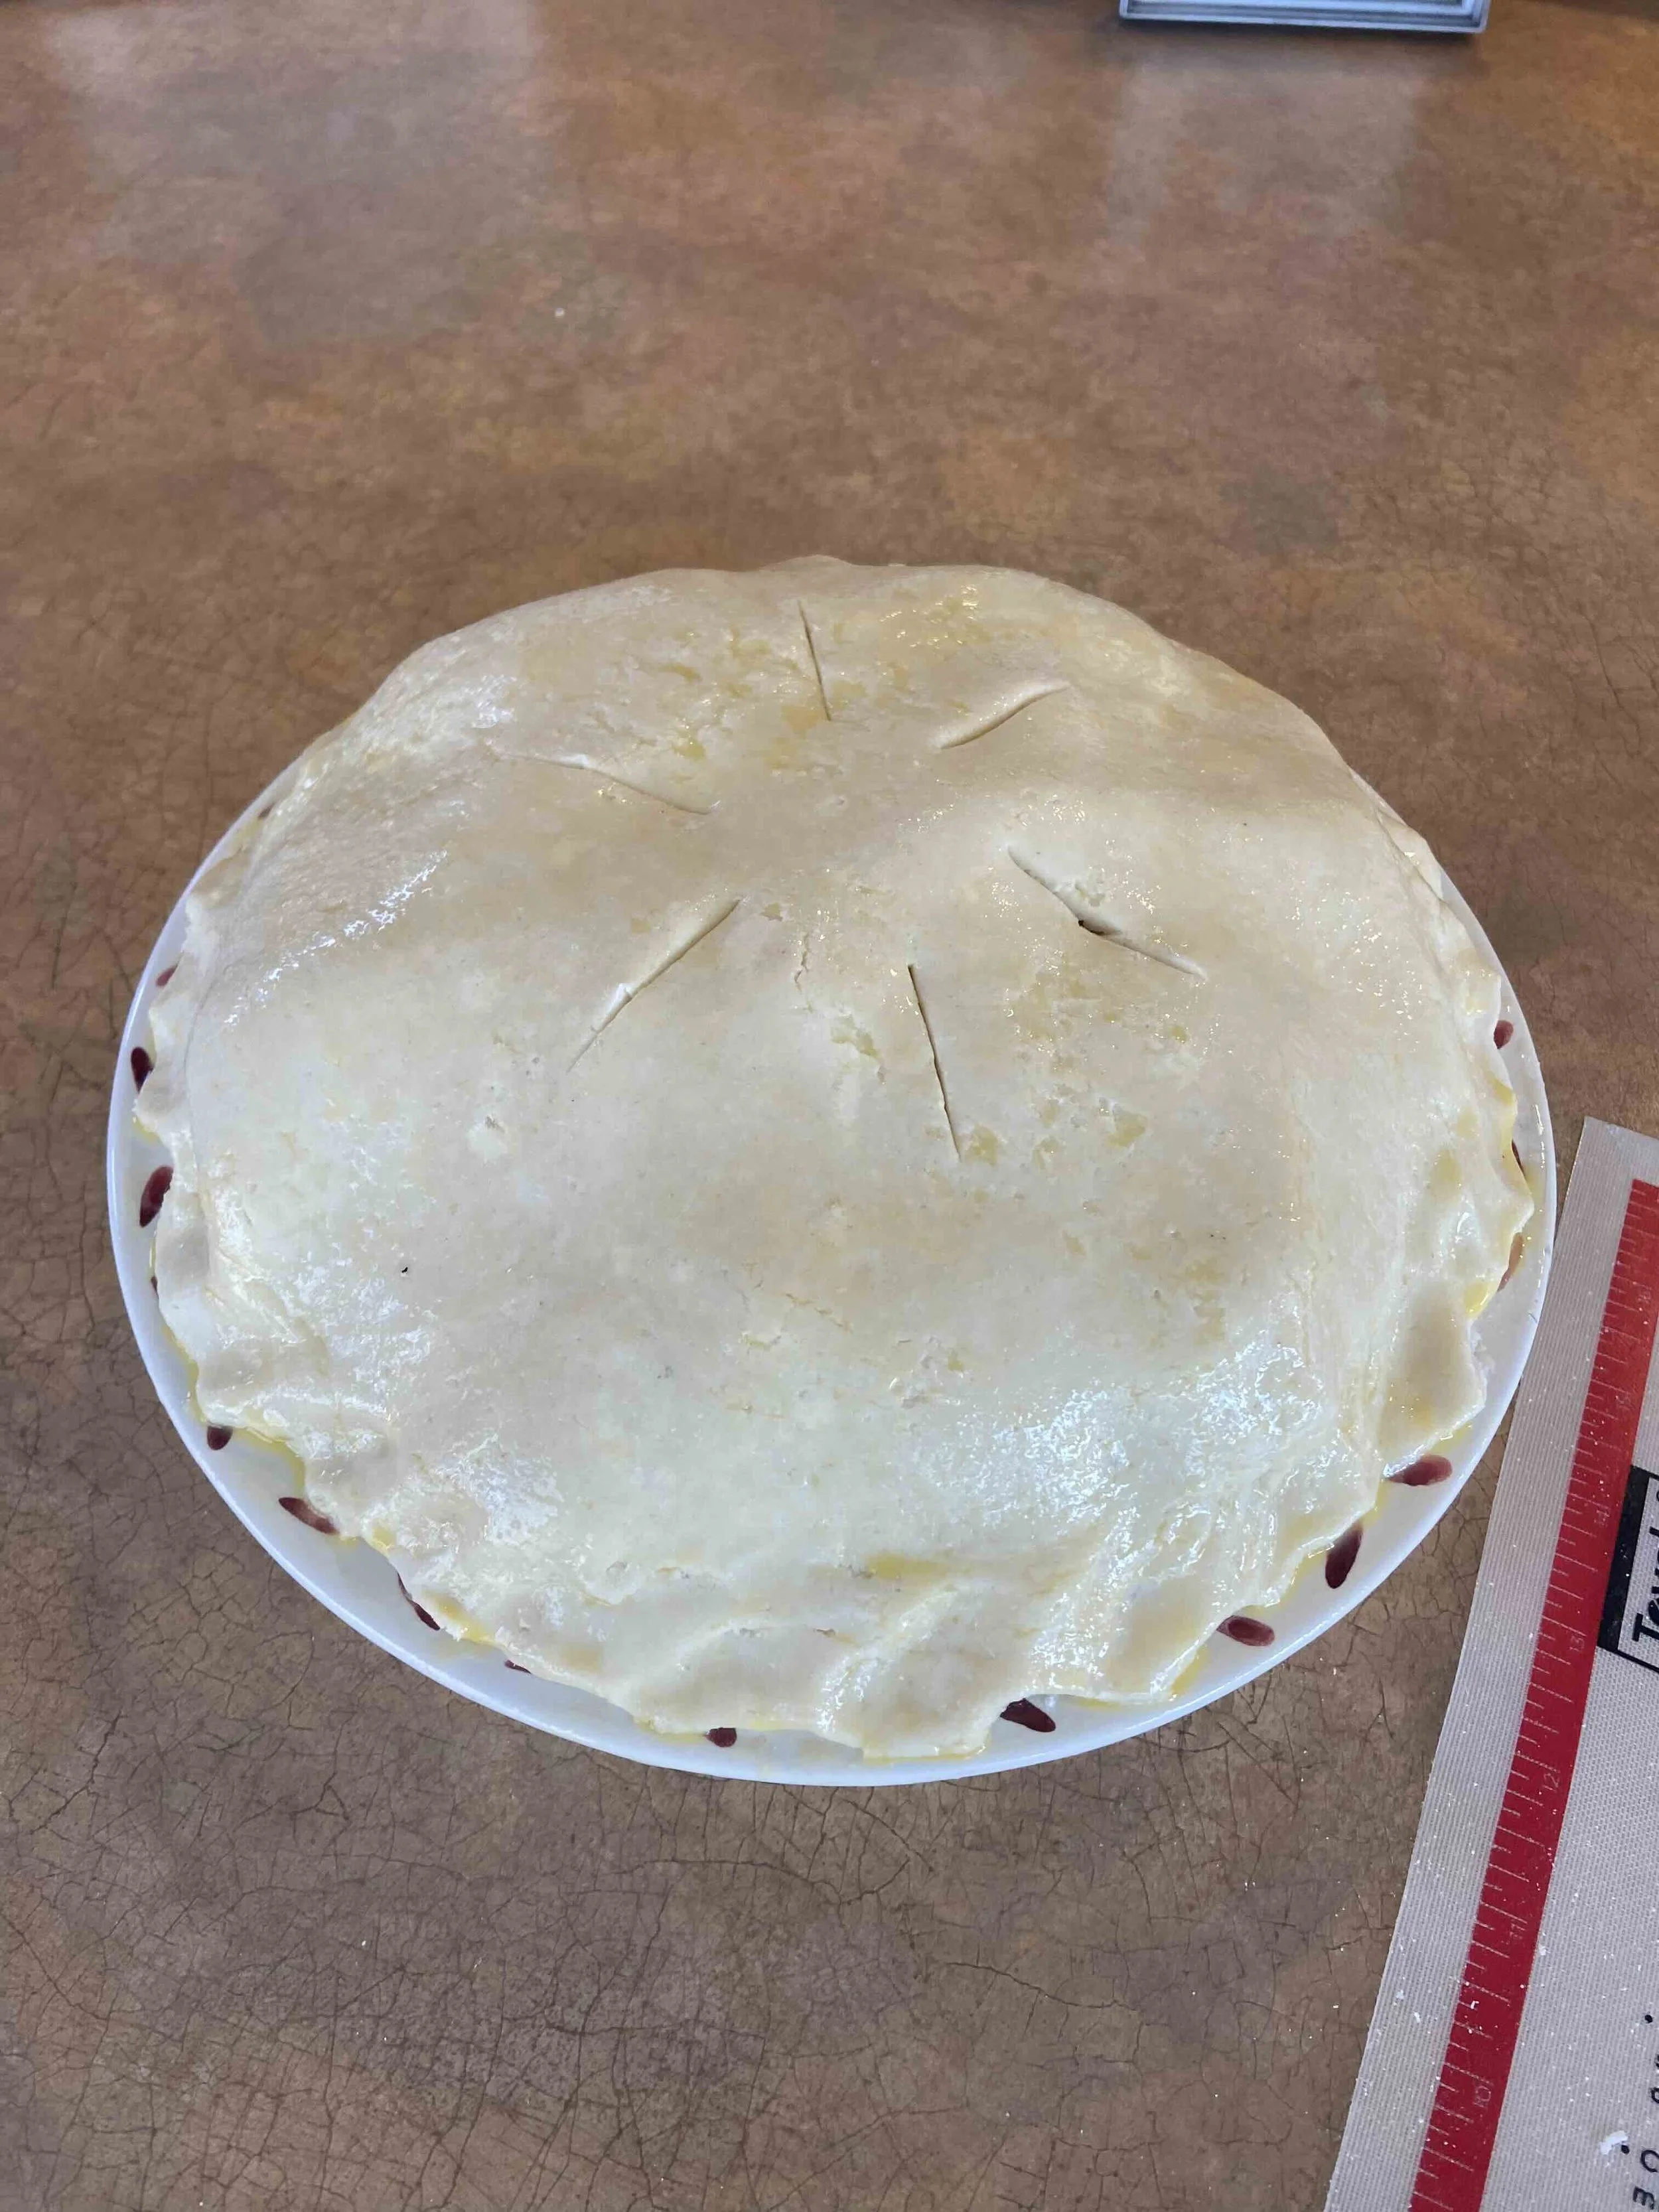
3. Loosen your rolled out pie crust with your long spatula. I loosely roll the crust onto my rolling pin to transport it to the top of the pie, shifting it as necessary in place. You’re going to have an overhang of crust. Trim the crust so there’s an even inch overhang all around. Then tuck the top crust under the edges of the bottom crust, working your way around the entire pie. To seal it, I take the side of my thumb and press down around the edges. Make several slits on the top crust, forming steam vents and brush with your egg wash. It should look like this:
Bake:
1. Place your pie on a rimmed baking sheet (if you have really fresh apples, juices can release and the rimmed baking sheet catches the liquid).
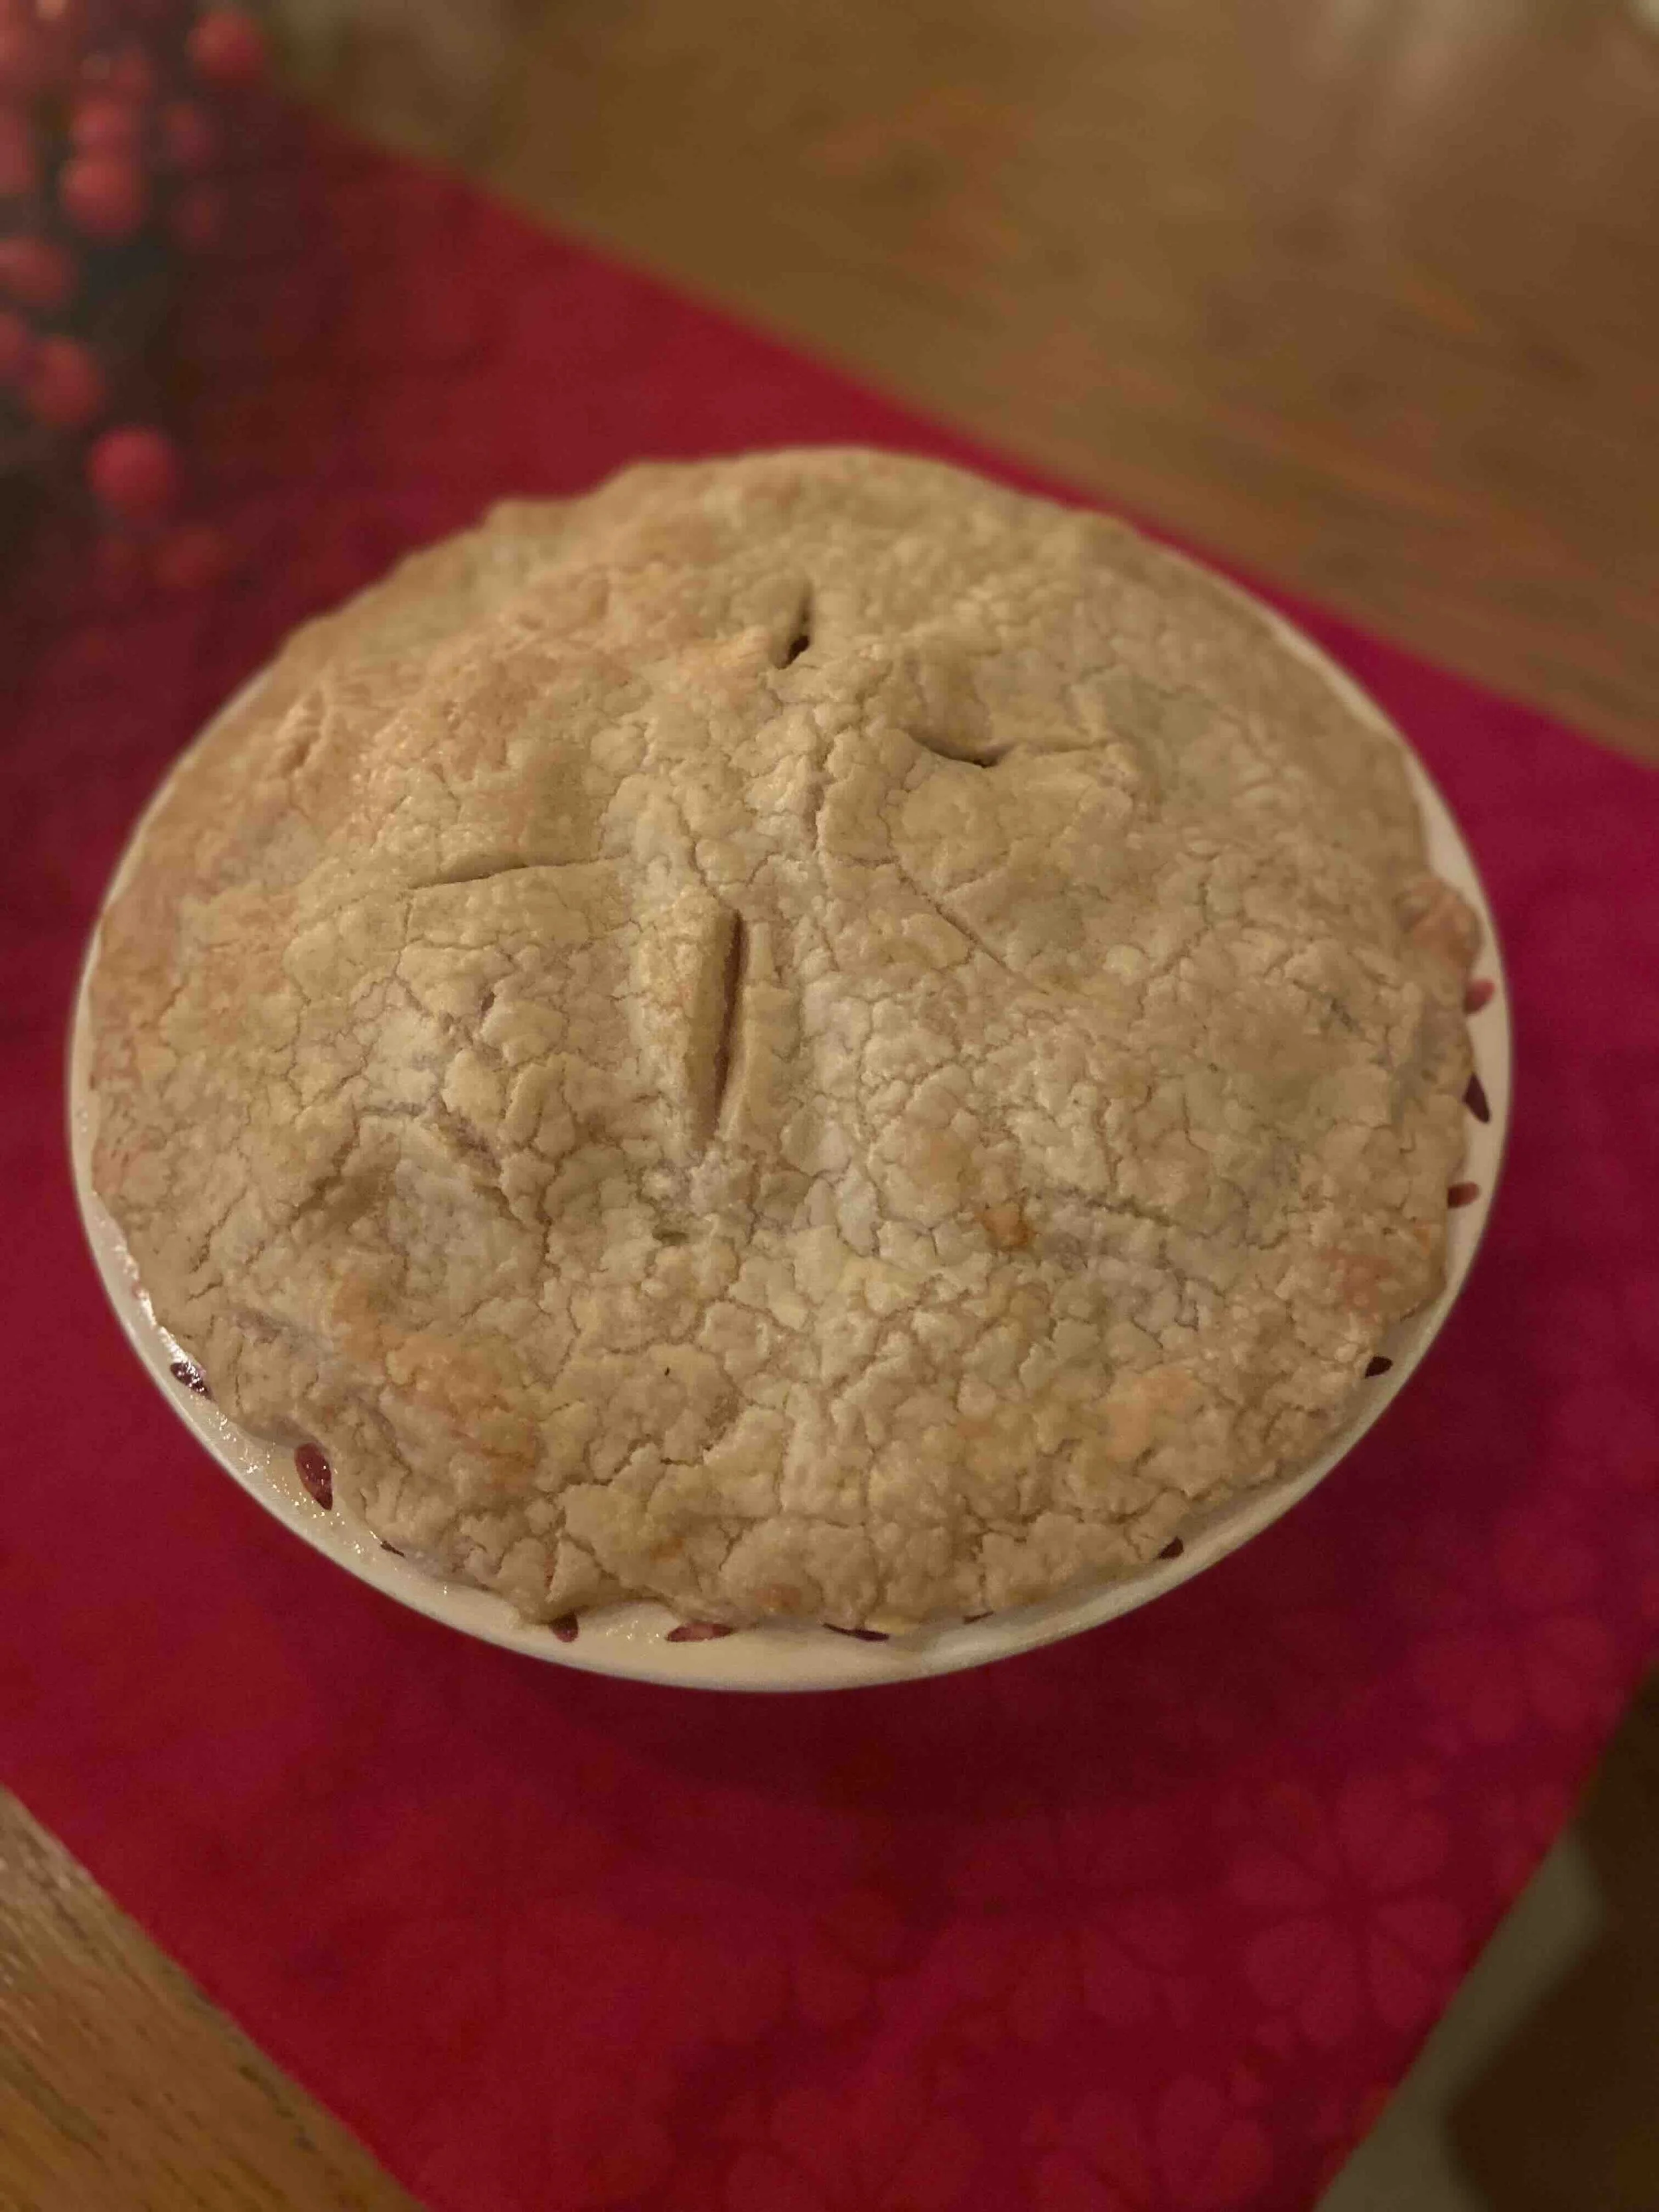
2. Bake in the bottom third of your preheated 425 degree oven for TEN MINUTES. Then reduce the heat to 350 degrees and bake for 1 - 1 1/4 hours or until crust is lightly browned.
3. Cool on rack.
* Recipe Notes:
Gluten Free Flour Mix. I mix my own, which I will provide here, but otherwise, use your favorite go-to GF Flour mix. King Arthur has a good one, too.
Gluten-Free Flour Mix Recipe
24 oz (1 bag) Bob's Red Mill Sweet Rice Flour (4.5 cups + 1/3 cup)
7.5 oz brown rice flour (1 2/3 cups)
7 oz potato starch (1 1/3 cups)
3 oz tapioca starch (3/4 cup)
Dairy Free Favorites
Dairy Free Butter.
For baking I like Earth Balance sticks or Violife Plant Butter. If you are soy free, opt for Earth Balance Soy Free.
Dairy Free Sour Cream
Tofutti is my go-to (note: it contains soy)
Forager Organic Sour Cream (note it contains cashews)
Apples
Use your favorite variety! I usually use Cortlands and Fuji’s since we fresh pick them locally. I love the combination, but use whatever you like or have on hand!
Egg Sensitive?
If so, simply replace the egg wash with melted dairy free butter.
Decorations!
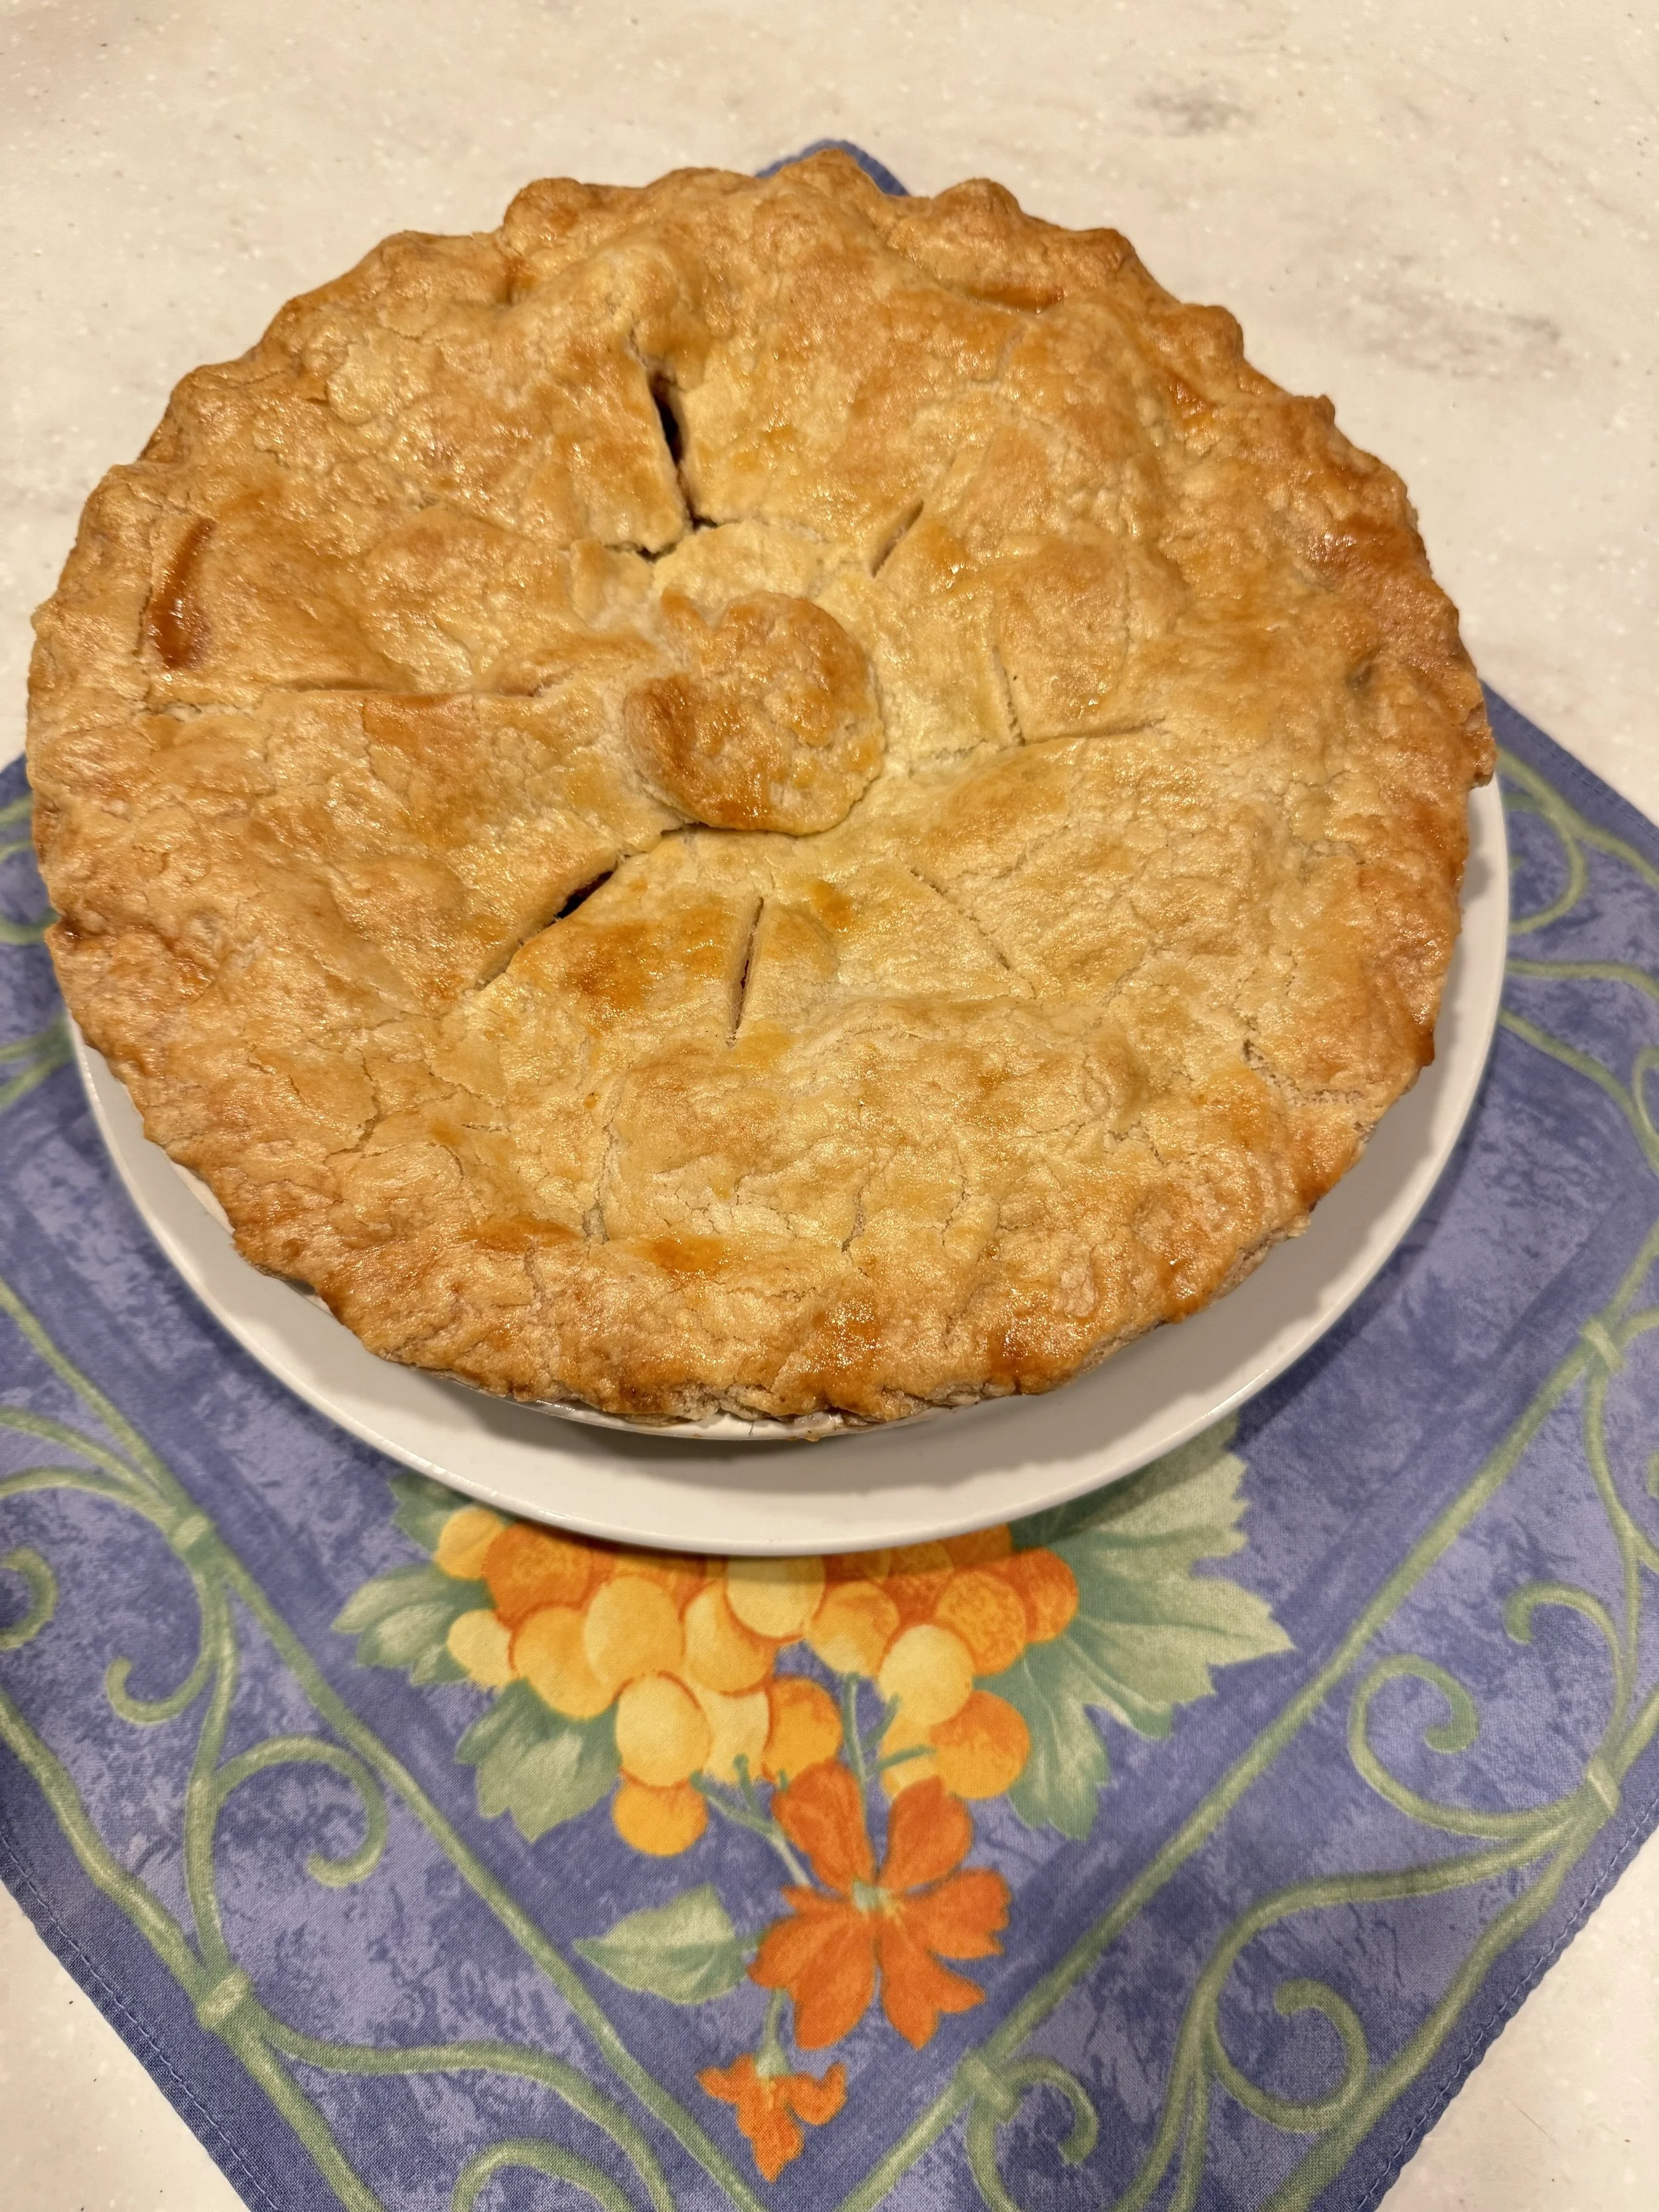
The first pie pic is one I just made - I cut out an apple out of left over crust scraps and popped it on top. Have fun with it! The other pics are ones where I captured the process. :)
DON’T SWEAT IT!
Baking is supposed to be FUN! If you’re new to pie making and your crust doesn’t look exactly the way you’d hoped, don’t worry about it! It will taste great — and remember, the best pies are made with love!